Showing posts with label eye shadows. Show all posts

Tuesday, February 7, 2012

NAKED Palette Review

I know what you all must be thinking, "I've already seen this palette so many times". I know, I know this palette has been tried tested many many times and I have seen the evidence myself on countless videos and blogs. Why did I then choose to do a review on it? Well firstly, I only just managed to get my hands on it since I was in the US last month. And secondly, I think every review is different as everyone comes with their own opinions about a certain product. 

I have no heard the NAKED palette 2 has just been released, what great timing when I JUST got the first one :). However, after looking at many reviews I think the better one out of the two would definitely be the first one for Indian skin tone (which is what I am). 

The beautiful shades.


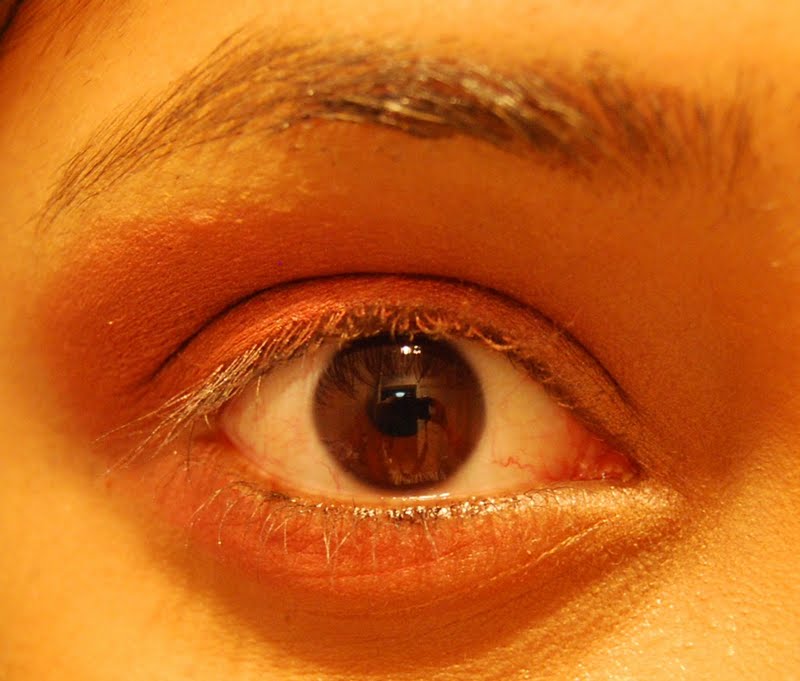
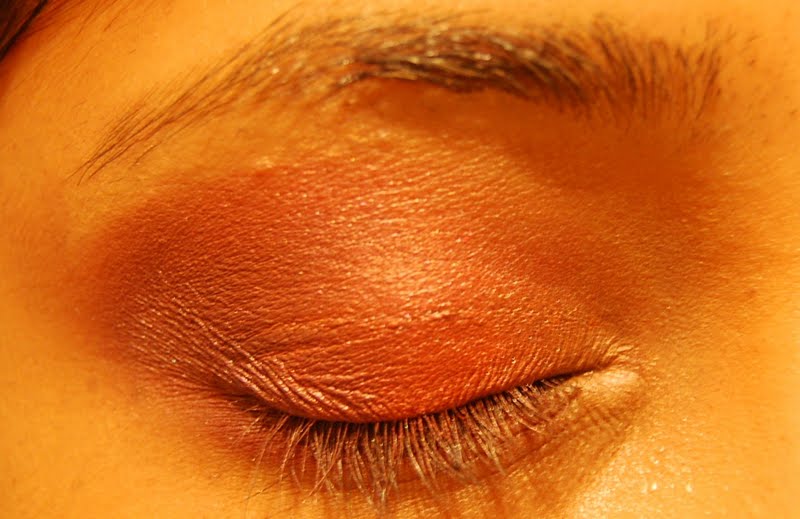
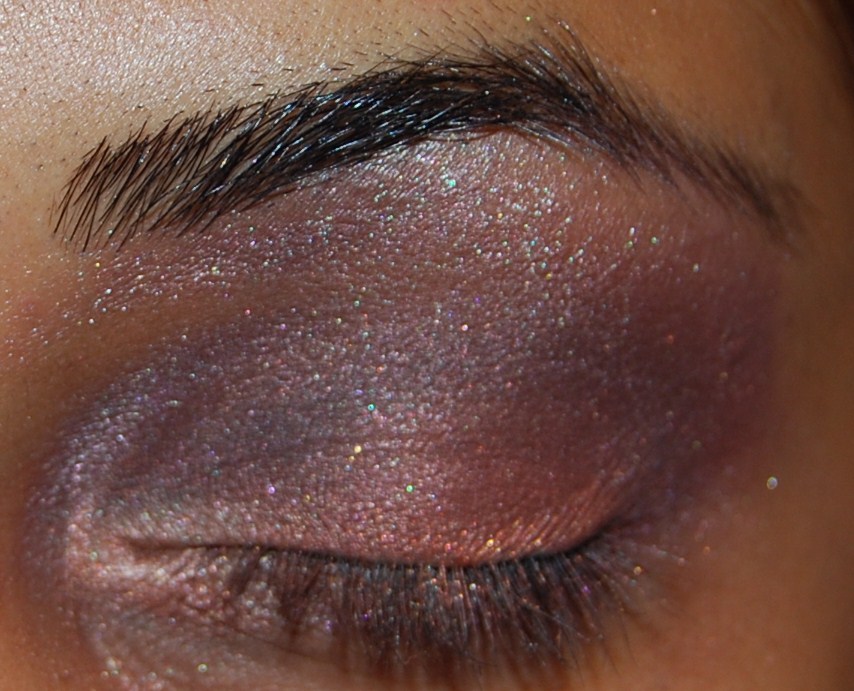
My favourite shades- these shades I think suit Indian skin very nicely (comment below if you would like to see a tutorial). 

The palette came with a brush and a small potion bottle. 

My thoughts: I think the palette is really a must have as many of you have mentioned. I think its particularly good for those who are just starting up with make up and want something more on the neutral side. It comes with numerous shades which you can play around with and create from subtle to dramatic looks. 
On the price range- it is a bit pricey for my liking. It cost me $48 USD (which is slightly lower for AUD). However, I have been using it constantly so when you balance up the use and the cost I think it's worth it in that sense. 
I don't personally like the potion that comes with it. Many of the bloggers have raved about it but I don't know, I've tried it countless times but it doesn't do the job for me. I might be trying out the NARS eye primer and see my luck with that. 
Recommendation: I would personally recommend these to darker skin toned girls, like myself. I think all the shades look amazing on tanned skin especially Half Baked and Smog which are my favourite! 

Let me know what you guys think about the palette or post any videos you have on it, I would love to see them!

Leave a comment below :)

Keep smiling :)


Monday, August 29, 2011

Crimson Eyes Makeup Tutorial


Crimson red is definitely in this season (esp for those in the US). Since we're ending winter in Aus, I thought I'd do a nice crimson look. 

I'm going to be using the two reds at the bottom next to the purple, the watermelon red, the brown with the dent in it and the darkest purple for the edge and the white/gold for the highlight.


Start with your eyes primed  and cover the base with rimmels white eye pencil just to allow the colours to really pop.


I've put on Covergirl's Smokey Eye colour blast cream shadow (I did a post on it a few days ago). This allows the eye shadows to really stick to the eye (this is what I have noticed) and since I cant wear the shadow by itself I'm using it as a base. 

I added the watermelon red all over my eye but stopping just  before my eyebrow


Now I'm using a red on the crease to really bring in the colour, sweeping it all across and bringing it down the lower lash line


I don't have it on the other eye, so you can see the difference.


Adding the brown/ purple to the outer edge and bringing it down to bring depth to the eyes


This picture is taken with flash so I can show you the colour however be mindful that my colours dont look so bright in real life as you will notice in the end pictures.


I used the ecotools brushes 

I used: covergirls smokey eye shadow(purple), eco tools brushes, white rimmel eye pencil, revlon black eye pencil and elizabeth ardens mascara. 

I added a touch of gold to the inner corner and lining bottom and top line with black eyeliner. Coat your lashes in mascara. 


And you are done! Here is a beautiful crimson look for you to wear day/ night (depending on your application of the colours). I love this look as it looks great on tanned skin! 

Hope you guys enjoyed! 

Wednesday, August 24, 2011

Covergirl Smoky colourblast dual eyeshadows

This was on sale so I thought I'd give it a try. It has two shades, and is supposed to be an effective way to give your eyes a 'smokey look. I chose this shade because of my skin colour and becasue I wanted something neutral.


There you can see the shades, the silver is quite bright and has specks of glitter (which Im not too happy about). The purple is a nice subtle purple, not too bright. I tried using these two colour together and to be honest I dont think they go well together. My eyes looked soo glittery which is something I didnt like.

The product is fairly creamy, and glides on very easily. One thing though, that I will be using this as is a eyeshadow base. It works great to hold your eyeshadows together and give them more definition.

Don't think Id buy this product again. Its not really worth buying unless youre lookin for something glittery and shiny. Its not really a smokey eyeshadow because the two colours are so bright that it leaves your eyes looking unusually shiny. Best way to use this product is to add in your own eyeshadows in the crease and lid to give your eyes more definition.

Have any of you tried this product?

Friday, May 6, 2011

Revlon Custom Eyes Pallette

I jsut recently got this Revlon Pallette, with autumn approaching I wanted something which I can wear witht

The back shows you where to place the colours

This is the look inside, its creative how they added a 'woven' effect to each of the shades.

This is the pigmentation of the colours.
To be honest, it looks ok on my fingers but using a brush it doesnt work so well. I have to go back a few times for it to actually cover my lid.

Pigmentation of the last shade.

Overall the product is good for a quick eye look, as all the shades are in one pallette. But the one downfall of the product is the pigmentation (but maybe its supposed to be that way? Who knows!)

A quick tip: when picking up the colour, brush it against the same direction of the lines in the shade (horisontal or vertical) is actuall makes a difference to how much product you pick up!

My rating: I would give this product a 3/5 stars

Keep smiling :)

Thursday, March 3, 2011

Simple Starry Night Look


Simple Night Look

I used these three products. You will need:
  • dark brown shadow
  • Dark/almost black purple
  • Loose golden shadow
  • Light golden shadow
  • White Highlight shadow


Apply the base all over the eyelid and underneath the eyes.


With a brush apply a dark brown to the eyelid not going past the crease.

This is what it should look like when completed.

Now take some deep purple shadow and drag it from the outer edge of the eye to the inner corner but for this look also bring it above the inner eye. This opens up the eyes.

It should look like this when you're done.

Now blend it out with a blending brush. Also bring the colour down to the lower lashes/outer edge of the eye. The change in colour in the photo is due to flash. I realised the other pictures werent doing justice to how pretty the colours were looking.

Now pick up a loose dark golden shadow and put onto lid. There will be fall outs so it might be wise to apply foundation after you have done your eyes. At the same time line your lower lashes with the same shade until the middle of your eye.


It shoudl look something like this after blending it all out.

This is what it should look like when you have have applied the white shadow on the brow bone (underneath your eye). Bring the bottom colour onto the top making two creases, this makes your eyes appear bigger.
Voila! Finished product. You can line your lower lash line with eye liner, but in this instance I thought it was better to leave it and stick with the beauty of the shadows.


Hope you enjoyed this look!

Keep smiling :)


Related Posts Plugin for WordPress, Blogger...

Total Pageviews