Showing posts with label Maybelline. Show all posts

Wednesday, November 9, 2011

Maybelline FIT concealer- Review


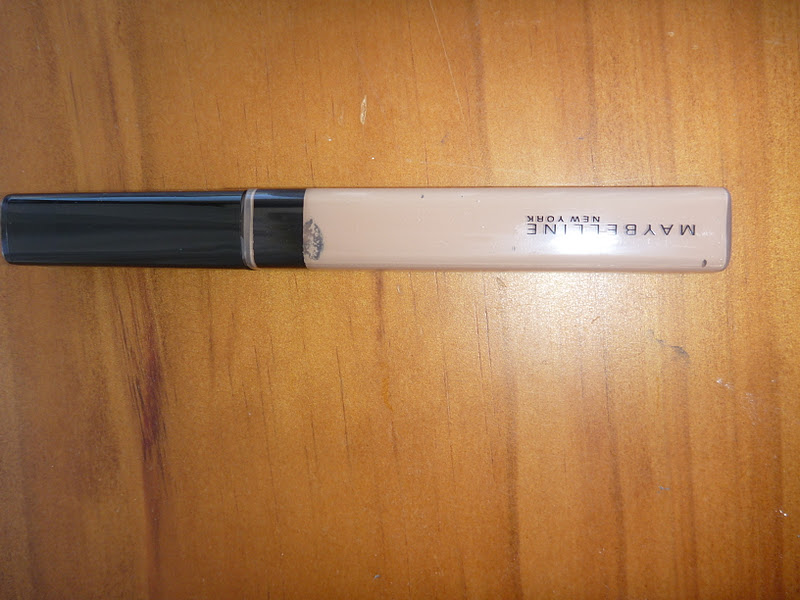
I was keen to try out this new (relatively) concealer by Maybelline. It's from their line 'FIT' which is supposed to be able to 'fit' your tone to make it look like you're not wearing any makeup at all.

I bought the shade 35 deep (which was the darkest available) because I have a tan to dark skin colour. 

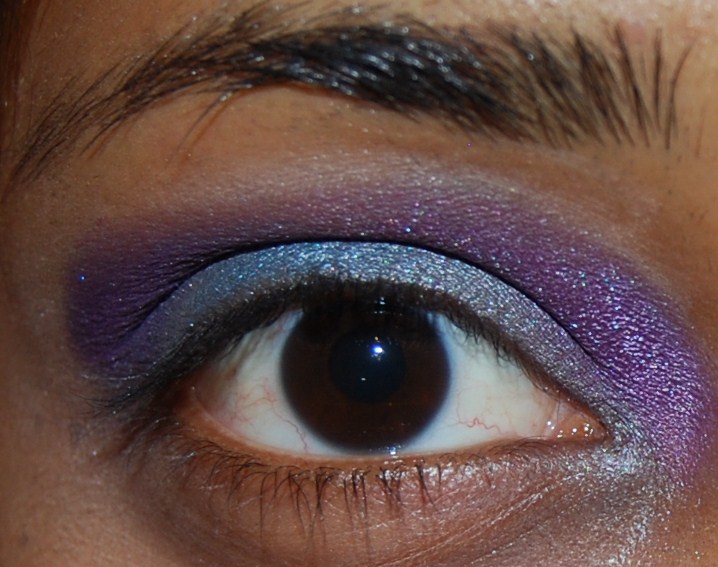
Below I have posted a picture of my eyes before the colour and then with it. I honestly wasn't that happy about the product. Like most concealers, they don't cater to Indian skin (unless its an indian beauty brand). And by Indian skin i mean tan to dark skin like mine. The concealer was hard to work with and hard to blend. When blended it still looks 'white' and noticeable against my skin colour. However, after a while the concealer was less apparent as it set into my skin. Generally I would be apply some form of powder or foundation over the concealer to blend it in but I wanted to try it out as per how it was. 

I think this product is good for lighter coloured skin tones, it isnt that cheap (AUD $14) therefore I wouldn't be repurchasing it. 


Eyes before the concealer.

Took a photo in natural lighting but the brown-ness of the product wasnt showing through so I took a photo with the flash below and the colour is more close to real life. 


Colour against my skin

Blended

Under my eyes. 

Sunday, March 20, 2011

Colour Me Happy Makeup Tutorial

Final Look!

Apply a eyeshadow base

Use any white eye pencil (this is Rimmel's white eyeliner)


Apply it all over the lid

With your finger spread it out all over your eye

Using an eyeshadow brush (Im using eco tools brushes)

Gently pat on a dark grey/blue all over the lid

Take some brighter blue and place this on the outer half od the lid

Use a purple for the crease and drag the colour forward to the inner eye

Should look something like this

This is what it looks like without the flash- this would look more 'realistic' to the shades of the colour in real life.


On the outer edge of the eye, pat on a hot pink colour

Like so

Now blend all the colours to make it look a little less harsh

Apply a light gold for the highlight and blend.
remember to bring the colours onto the bottom lash line as well.

Should look like this- you could end the look here if  you want it to be a bit soft or continue to add liner in the next steps.


Apply eyeliner (im using Maybellines Gel Liner) and start from the middle and drag the liner to the outer edge. I tend not to take my eyeliner in into the inner corner as this makes my eyes look smaller. You can change it around how you want it to suit your eyes.

Do a flick at the end of the eyes to add effect, line the bottom line as well and smudge to remove any harshness.
And Voila! You now have Hot Pink eyes :)

Keep Smiling :)

Monday, February 28, 2011

Maybelline Eye Studio Eyeliner


Sorry for the blurry photos, my camera just wouldnt focus!

So on a shopping expedition I saw this liner and thought I should I try it out!

First Impressions
I had always had the pencil or wet liners but never tried applying liner with a brush. So I was quite excited at the prospect of trying this out. I loved the packaging because it looked very classy.

A few strokes later...
I first used it out on a night out and I have to say I wasnt completely impressed. It was quite smudgy and not a precise application like a pen-liner. I guess practice makes perfect?

Cons -
One thing I found was that if I was in a rush (like I usually am for Uni) I couldn't manage to line my eyes properly because I had to keep picking up product which was time consuming but like I said practice makes perfect!

Pros +
It does allow you to vary the degree of intensity when lining your eyes.

Rating
I would rate this a 3.5/5 stars!

Keep smiling :)
Related Posts Plugin for WordPress, Blogger...

Total Pageviews