Monday, February 28, 2011

Maybelline Eye Studio Eyeliner


Sorry for the blurry photos, my camera just wouldnt focus!

So on a shopping expedition I saw this liner and thought I should I try it out!

First Impressions
I had always had the pencil or wet liners but never tried applying liner with a brush. So I was quite excited at the prospect of trying this out. I loved the packaging because it looked very classy.

A few strokes later...
I first used it out on a night out and I have to say I wasnt completely impressed. It was quite smudgy and not a precise application like a pen-liner. I guess practice makes perfect?

Cons -
One thing I found was that if I was in a rush (like I usually am for Uni) I couldn't manage to line my eyes properly because I had to keep picking up product which was time consuming but like I said practice makes perfect!

Pros +
It does allow you to vary the degree of intensity when lining your eyes.

Rating
I would rate this a 3.5/5 stars!

Keep smiling :)

Sunday, February 27, 2011

Easy Earring Storage


This is how I store my earrings. I got a piece of foam like card which you can easily put your earrings into.
I also found this elephant earring stand at target. I thought it was very pretty (since I love elephants)! But it is not that conventional, you can't really put too many earrings on it (its more of a decorative piece).

How do you store your earrings?

Saturday, February 26, 2011

How to store your necklaces...


I have quite a lot of necklaces and thought it would be good to show you how I store them. I used to keep my necklaces in a box and they were always tangled! So I decided to use this method. This used to be where I hung my clothes but now I hang my necklaces so they dont get tangled up.

The "hooks" are from IKEA and were around $10. I installed it myself. I arranged my necklaces according to their colour because that way it makes it easier for me to find what I need.

How do you arrange your necklaces?

Keep Smiling

Kmart Shoe Sale


I went shopping yesterday and found these two pairs of flats at Kmart. I thought they were really nice but what made them nicer was their price! I got one pair for $3 and the other for $5! Now if thats not a bargain what is!

keep smiling :)

Friday, February 25, 2011

How to DIY Pedicure...

We spend most of our days on our feet, so it is vital that you take some time out of your busy life to fit in a pedicure. It doesn't have to be from the salon but can be done at home! It's a hot Saturday day and I'm ready for my very own pedicure. Here are some of the things I use:


LUSH Ocean Salt, Butterball, Lemslip, The Body Shop body scrub and filer.
1. File
Shorten, Smooth and square off toenail ends with an emery board. Use a buffer to help even out any surface bumps or ridges.

2. Scrub and Soak
Give your feet a good once-over with a foot file to soften build-up of hard dead skin. Concentrate on the backs of the heels and sides of the big does, but don't stress too much about the calluses underneath- a certain amount of this is necessary to protect your feet. Next, while you're running warm water into your bath/tub, rub a salt based scrub all over your feet. Then soak them in the warm water as the salts dissolve around them. Today I am also using a bath bomb from Lush called the Butterball. My feet are dry and even though this is a bath bomb it can be used for  your feet!


LUSH Butterball
3. Cream
Dry off your feet and massage with a rich cream. You can use either a speciality foot cream or a general body cream- whatever it is, the thicker the better. Massage calves for an extra feel-goof treat. I will be using a body butter from The Body Shop.

4. Prep Nails
Clean any cream residue from nails by using a cotton pad that has been soaked in nail polish remover. Then apply a base coat of polish to each of your nails in three stripes (middle first and then either side).

5. Paint
Super-bright colours always look fab on summer toes. I am going to apply a purple from Zoya, but you should also play around with jewel tones such as blue and green. A top coat is optional (toenails are porous so hold colour well) but it can be used to up the shine factor whenever yor nail colour stats to look a little dull.

Zoya Gossip Summer Nail Lacquers


Ok, all done now off to the shops!

Keep smiling :)

Target Haul


Firstly Id like to apologise if the pictures came out a bit blurry! My camera would just not focus!

So last night I went to watch a movie but since we had time to spare we went looking around the shops. The huge "SALE" signs caught my attention in Target so I went in to have a look.

I loved the two cardigans I got ( in the picture above). They both have 3/4 sleeves, which is new to me. I loved the detailing on the baby green cardi. The other one, is a nice light browny/grey colour which I can wear in the winters, I bought a size bigger than I am so I can layer it with other things!There was a deal, that if you buy 1 you get the second half price! So both of them cost me around $15, which is a bargain.

I also got the two dresses (in the pictures above). They are both the same style but I loved the way it looked on me that I got both designs! It has a razor back and it sinches up on the waist. Great it youre going out to dinner and want to hide the 'after dinner belly' (well I have to anyway :) ). Both the dresses cost me $20!

If you live in Australia and near a Target I would recommend you go! I will be going in again before the sale ends, might find something else!

Keep Smiling :)

Forever New Elephant Earrings


So I popped into Forever New the other day and I found these adorable elephant studs! And like I said in my previous posts, I absolutely adore elephants. They are a light gold with diamontes. Once I get my OOTD started, I'll show you what you can wear these with!

Keep smiling :)

Thursday, February 24, 2011

Revlon Colour Stay Concealer


I thought I would do a quick review on the Revlon Colour Stay Concealer.

First impressions:
I thought it looked quite "cool". What made me purchase it was the packaging and the look of the product overall.

After using:
Maybe it's because the shade is too light but I did't like this product at all. I have only used it once, and that to to try it out. I have dry skin sometimes and this product just made my under eyes look even drier and tired looking.

Verdict:
It's probably going in the bin. Never going to repurchase it. If you have dry skin like me, its best to use a creamy concealer. Currently I am using Stila and am absolutely loving it!

Rating:
I would rate this product 0/5 stars


Keep smiling :)

The Versatile Blogger Award


I woke up this morning with such great news! Thankyou so much My Lyfe: My Story for nominating me for this award. As most of you can see from me "Archives" my blog is only 2 weeks old! I am very new to this and only just getting the hang of getting my way around.

So thankyou again to My Lyfe: My Story, for recognising my blog :). I love her style and I love her creativity in mixing colours and textures together! Thankyou to all my followers, readers and people who have commented, really loving the support!

I dont exactly know what youre supposed to do when you get this award but I am following My Lyfe: My Store as to the format of this, so bear with me! So youre supposed to share 7 things about yourself and share the award with recently discovered bloggers.

7 Things about me

1. LAW: I am currently in my final year of studying a Bachelor of Law (I have already completed my BCom). It may sound a bit wierd but I love reading and acquiring knowledge. The main reason I chose to do Law was to make a difference in this world. I know I am just one person but sometimes one person is all you need.
                                                              
2. VEGETARIAN: I am a vegetarian and an animal lover. I have been a vegetarian all my life and I am a true believer for animal rights. So I only try to purchase products which have not been tested on animals and contain no animal products (whats worse than smearing fish scales on your face). I might get it wrong sometimes, but I try to do alot of research before I buy certain products to make sure they fit my requirement.

3. ART: I did Art in Year 12, which was quite a lot of work but was worth it because it made me forget about all my other subjects. In the end I was awarded the Overall Arts Student Award. Art is my passion, without it I don't think I could do anything. I think everyone has something they enjoy a lot and if you're able to make a job out of your passion, I dont think theres any better way to live your life.   

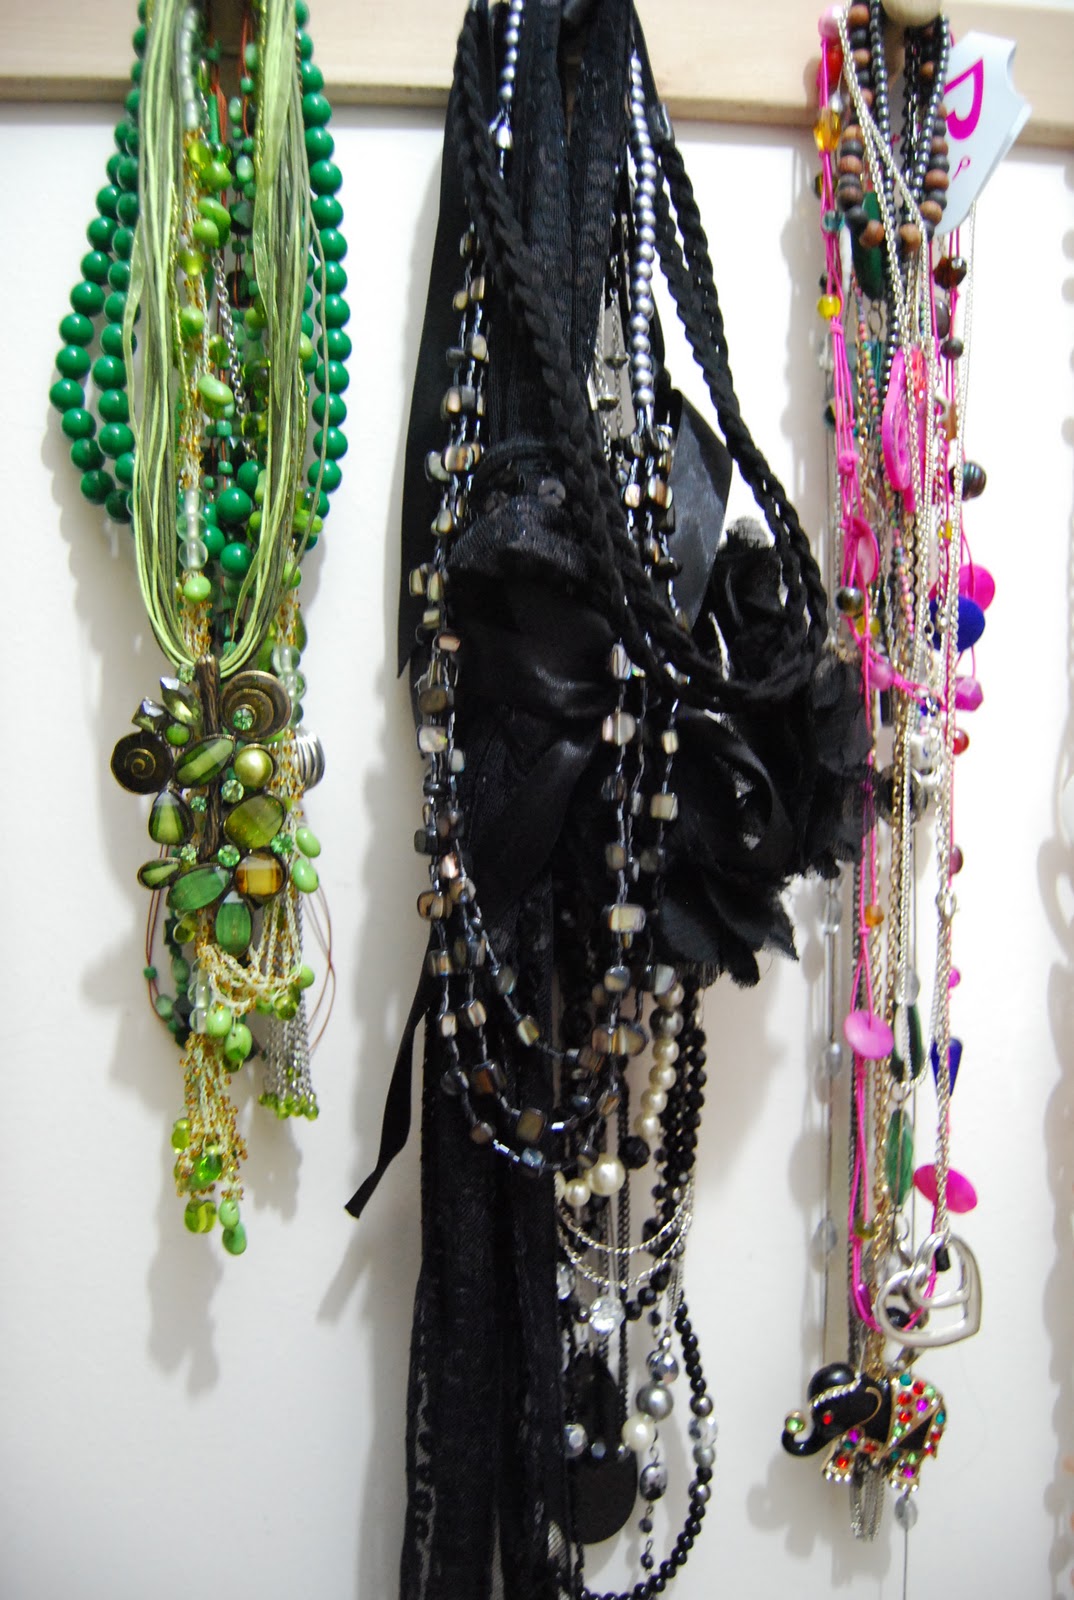
 4. ELEPHANTS: You'll see in my later posts yet to come, but I love all things elephant! They are my favourite animal. Whenever I see any elephant jewellery I HAVE to buy it. I have necklaces, earrings, key chains, rings, stuffed toys, paintings, jewellery boxes and the list goes on. On my recent trip to Chiang Mai, Thailand, I was able to get up close to elephants because I was staying at a resort where the elephants roamed freely! How awesome is that!

5. TRAVELLING: I love to travel. Currently, I have been to 43 countries (and still counting). I love to experience new culture and see new things. I have seen wonders of the world like;  Taj Mahal, Grand Canyon, Pyramids, Niagra Falls, Eifel Tower, Acropolis  (may be more but I cant remember). The places I would love to visit is China and Antarctica. People think Im crazy for wanting to go to Antarctica, but I think it'll be amazing!

6. DANCER: I used to be a dancer.  I had learnt professional dance for a few years and have been performing on stage since the age of 6. I started off with Calesthenics then went to Tap, Jazz and Hip Hop to Classical. All the hard work, the long hours of rehersals pays off once you step on stage infront of a large audience.

7. HARRY POTTER: I love the Harry Potter books and movies! It's something about the magical world which fascinates me. I love the imagination and creativity used!

Since I am very new to this blogging world, I havnt been able to completely explore other blogs. But blogs I'd like to pass this award onto are:


Please go check out these amazing people!

Thankyou again to My Lyfe: My Story.

Keep Smiling :)

"Hibiscus"- My Painting


This is the first painting,  "Hibiscus" ,in my installation in my "Artist for a Cause". I was inspired by the flowers in my garden. This was the first painting I did, using paint straight on canvas without sketching it. I find the beauty of nature is incredible, if you sit and observe a flower you would know what I mean. Sometimes I feel in our fast paced life we forget the very essence of nature, its smell, its feel, its sight. People should take time out of their hectic life to appreciate all that is around them.

As I said in my first blog post, the main outcome for this blog is to promote my artwork and raise awareness for different charities and organisations. Since I am only just starting off, I will be donating 10%-15% of the money earned from my paintings to the charities. The charities may vary depending on where attention is needed most, such as the NZ Quakes or Queensland floods. However, my main two charities will be an orphanage/medical facility in India and the Elephant Nature Park in Chiang Mai, Thailand.

If you are an interested buyer, please let me know in the comment box below. Any support will be much appreciated :).

Disclaimer:
These paintings are completely done by me- start to finish- and all the paints, canvas, brushes, primers and tools were bought by me. This is an original piece made by me and may not be reproduced and sold illegally for any purpose.


Epilating- Good or Bad?


So I receieved quite alot of messages after my "Hair Be Gone" post, asking me about what I do for body hair removal. At the moment I epilate my legs and it is working fine for me. However, sometimes if i dont exfoliate properly, I do get ingrown hairs which turn into nasty looking red bumps.

So my advice would be to try out what suits your skin/hair type. I started with waxing but found that it was too messy and time consuming (however the feeling after you get your legs waxed is better than epilating). I shaved my legs a few times but found the regrowth was often spiky and irritated my skin.

I got this epilator around 5 years ago and have been epilating since. The hair grows back in around 3 weeks.
Let me know if you have any other methods of removing body hair, would love to try something new!

keep smiling :)

Wednesday, February 23, 2011

Pretty in Pink


This is a lipsy dress I purchased a while back when I was working at Forever New. It was $119 and I got it for $10! Thats a bargain! I would wear this dress with tights because of my height (5'9) it ends up looking like a top. Id pair it with a cropped jacket for evening wear.

Also loving these studs I also bought from Forever New for $6.25. Absolutely love them and their unique design. I would pair these beautiful studs with the dress.


Keep Smiling :)

Tuesday, February 22, 2011

The Ex(foliation) Factor

Our skin is constantly shedding skin cells, and sometimes, they don't always naturally fall off our skin so that's where exfoliating comes in. I constantly exfoliate my skin with a body scrub or a regular body wash together with a body brush and exfoliating gloves.

The result: clear pores, less chance of ingrown hairs, increased circulation and glowing skin.

So how can you do it?
There are two ways in which you can exfoliate; dry skin brushing or wet exfoliation. I choose to exfoliate in the shower. After rinsing your entire body, apply any body scrub containing particles that cause friction against the skin. I use Ocean Salt by LUSH (which is an all time favourite of mine). It has large and small particles of sea salt which do a perfect job in exfoliating my skin. I use it along side a creamy body wash so my skin feels soft afterwards. I also use the Pink Grapfruit Body Scrub from the Body Shop, which works just as well and the smell lingers on your body for hours! I massage this over my entire body using gentle, circular movements. Usually I work the product up from the feet to the top of my body, and concentrate on dry patches such as elbows and knees.


Pink Grapefruit Body Scrub


Ocean Salt by LUSH, you can see the granules of salt!


My manicare exfoliating brush, as you can see ive used it quite alot!

Manicare, exfoliating glove.


Exfoliator beware
Over-exfoliating can strip the skin of too many skin cells (going beyond the layer of dead ones which need to be removed!), and can result in red, scaly and irritated skin. For most skin types, exfoliating two-to-three times a week is plenty for skin to achieve baby-soft smoothness.

Moisturising
Moisturising is an essential step in the post-exfoliation process, but also a great daily treat. I usually apply my moisturiser after a shower when my skin is warm and slightly damp for better absorption- the product will melt into your skin, leaving you with a gorgeous shine!

Check out my blog post on body butters: Body Butter Galore

Rate, Comment, Subscribe


"I was never the girl who thought I need to make sure I look like all the other girls. I think you look best when you stand out." - Selena Gomez

Keep smiling :)


Monday, February 21, 2011

Dandruff? No thanks.

So you've been itching at your dry scalp for a while, youve tried almost anything and now youve resorted to wearing a hat/cap/beanie everywhere you go...well now I have the solution for that.

As most of you know after following my blog, I experienced a lot fo hairfall last year and one of the reasons was my dry, flaky scalp and trust me it was not attractive. So I went on the hunt to try out different things to restore the well being of my scalp.

1. T-Gel by Neutrogena


 So I was watching TV one day and an advert on this new product from neutrogena caught my eye. I immediately went out to get it. I have to say it took its time to work but when it did, it definitely reduced my dandruff and my scalp felt less itchy. I was only using this once a week not everyday because I found the fragrance of this product quite sickening. However, over time I found this was actually drying out my hair. So it did have its pros but it also had its cons. Its a great product, to start off with to reduce dandruff.

2. Hair Doctor by LUSH

I think I went through at least 3 tubs of this! This was the best remedy to restore my hair and scalp. It has peppermint in it which left my scalp tingling (in a good way). It had noticeable effects on reducing my dandruff! I loved using this product and after washing my hair felt so revitalised and soft. I don't use this product anymore since my hair has not had any major dramas but this is the first product I would turn to if you need some much needed TLC for your hair.

3. Natural Remedies
These are quick remedies which I used to nourish my dry scalp. These included:
  • to treat dry hair, massage olive oil into the hair; paying attention to the roots and tips of the hair, and wrap the hair in a warm towel. Leave for 1-3 hours and rise out with mild shampoo with added lemon juice.
  • Cider vinegar can be used to rise and conditiont he hair and to restore the pH balance of the scalp. For extra effect, herds such as rosermary, bay, sage and eucalyptus can be macerated in the vinegar.
These were quick and easy natural remedies I used to reduce my dandruff. Dandruff is mostly due to external factors as well as nutrition. Keep up with your 8 glasses of water a day and keep a healthy diet consisting of fruit and veggies and you wont have to click on this blog post again :).


Comment, Rate, Subscribe

Keep Smiling :)

Smokey Eye On The Go

Ill be using these two products (Revlon Colour Stay pallete in 09 Sterling Rose and the Revlon Colour Stay Eyeliner in Black), along side my brushes to create a simple smoky eye look.
These are the shades I will be working with.
1. light brown for the lid
2. Highlight for the brow bone
3. Silver for the crease
4. for the outeredge of the eye

1. Apply any shadow base all over the eye lid and below the eye.

2. Apply the light brown shade from the Revlon Colour Stay Pallete all over the lid remembering not to pass the crease.

3. Now apply the Silver shade to the outer edge of the eye dragging the colour across the crease, like so.

4. Now apply the black to the outer corner of the eye in a patting motion (so the colour is more noticeable).

5. Apply the rosy pink shade as the highlight to the brow bone and now blend out the black with a blending brush to make it look less harsh.

6. Something like this. By adding the black to the other edge of the eye it creates another dimension making yours eyes really stand out!

7. Now apply any eyeliner, I am using Revlon Colour Stay eyeliner in black. Apply this along your water line/lash line.

8. Apply the eyeliner to the top lid as well. Get an angled brush and pick up some of the black shade in the pallete and smudge out the harsh lines of the eyeliner

9. Wallah! You are now done, with your simple smoky eye look (you might want to make it a bit more dramatic by curling your lashes and applying mascara).


Rate, Comment, Subscribe

Keep Smiling :)


Related Posts Plugin for WordPress, Blogger...

Total Pageviews